Developing Single Page Applications (SPAs) can be complex, particularly when combining a SPA that communicates with one or more API’s with complex data sets. It’s often time-consuming to create a full range of testing projects that cover all the required scenarios in your testing environment due to complex dependencies or additional data structures necessary to make it work.
With the emergence of modern testing frameworks and libraries like Playwright, it is now possible to build SPAs without being dependent upon the entire environment and mock out parts to fit a given need. This allows developers to speed up the development process, be more fluent and agile, and ultimately deliver high-quality applications faster.
My experience
I’ve experienced this as a great way to develop modules that are part of a more extensive application (with many dependencies), and in cases where we applied event sourcing to the way we store ‘data’, the business flow. In the last case, we mock the API to truly focus on how the data would be best represented for consumption in the required scenario. This gave us the option to build our actual projections after we’ve finalized the code that consumes them and is less impacted by incorrect assumptions.
Next to an improved flow of work, it’s also a great way to start earlier with preparing your e2e tests. You build API interactions to cover specific scenarios, what happens when there is nothing to show, how pagination works with a lot of data, what happens when we fail to get a response from the API, etc. All in a reusable way, you’re not adjusting your code (adding hacks) to your data loading process to throw exceptions during development, which are later removed when you’re done with development (otherwise, the application would always break).
Now, this does not mean that there will be no work left when your focus shifts to e2e or integration testing, but it does help you to be able to quickly get into a state to reduce risk when deploying to production in continuous flow.
Let’s get started
In this article, I will build a small test application to demonstrate some of the benefits gained. This application is not meant to be perfect, but just here to illustrate the benefits of mocking your development environment with Playwright.
Building the Angular test application
For this demo, we will create a small testing application using Angular to illustrate the purpose. An Angular application is not required for this setup; it will work with any SPA framework or anything that works inside of a browser.
To illustrate some of the benefits, we will not load our data immediately. Still, the application requires a couple of clicks to reach the imaginary position we’re working on/ developing. In this case, that is:
- a loading button
- a button to show the actual data
You can compare this to a wizard, for which you’re working on the 3rd step of a 5-step wizard. We want to avoid clicking through the first two steps each time the browser refreshes due to changes detected in your code by the HMR process.
To create the sample application, generate a new default Angular app, and replace the content of the files with the content of the next two code blocks.
app.component.html
<h1>Posts</h1>
<button #loadbtn>load posts</button>
<ng-container *ngIf="posts$ | async as data">
  <div *ngIf="data.isLoading">loading</div>
  <div *ngIf="data.error">error loading</div>
  <div *ngIf="data.value as posts">
    <button (click)="togglePosts()" [disabled]="data.isLoading ? 'disabled': null">click me to show posts</button>
    <ul *ngIf="showPosts">
      <li *ngFor="let post of posts">{{post.title}}</li>
    </ul>
  </div>
</ng-container>
Next, we will modify the code behind of the component (app.component.ts). We will review some of it below to give you a quick view of what occurs.
On line 12 in the code block below, we get a reference to our load posts button (line 2 in the above code snippet). On line 22, we turn this button’s click event into an observable stream. This means each time a new click is detected, a new click value will be emitted to the stream.
Once a new click event arrives in the observable stream (loadButtonClick$), we transform this signal (switchMap) into an HTTP get request retrieving data from the URL https://jsonplaceholder.typicode.com/posts (this endpoint generates random json, but could be seen as our production API).
The HTTP get method in Angular returns another observable, which results in either the retrieved data mapped (line 28) to the object { isLoading: false, value } and emitted or if the call fails/ returns an error state it transforms the observable into a new one (line 29) and emits the object/signal { isLoading: false, error}.
And if your head isn’t spinning yet, on line 30, we set the first value/object to be emitted on the stream to be { isLoading: true }.
All in all, this means we will have a stream of objects/signals/events occurring that we are listening to; the first event will have the state of the boolean isLoading set to true and once it completed the HTTP call either successfully or in error state the boolean isLoading will be set to false. This isLoading boolean will be used to display a loading screen.
app.component.ts
import { HttpClient, HttpErrorResponse } from '@angular/common/http';
import { AfterViewInit, Component, ElementRef, ViewChild } from '@angular/core';
import { catchError, debounceTime, fromEvent, map, Observable, of, startWith, switchMap } from 'rxjs';

@Component({
  selector: 'app-root',
  templateUrl: './app.component.html',
  styleUrls: ['./app.component.css']
})
export class AppComponent implements AfterViewInit  {

  @ViewChild('loadbtn', { static: true }) loadButton: ElementRef|undefined;

  public loadButtonClick$: Observable<unknown>|undefined;
  public posts$: Observable<HttpRequestState<Post[]>>|undefined;
  public showPosts = false;

  constructor(private http: HttpClient) {}

  ngAfterViewInit(): void {

    this.loadButtonClick$ = fromEvent(this.loadButton?.nativeElement, 'click').pipe(debounceTime(300));

    this.posts$ = this.loadButtonClick$.pipe(
      switchMap(
        () => this.http.get<Post[]>('https://jsonplaceholder.typicode.com/posts')
          .pipe(
            map((value) => ({ isLoading: false, value })),
            catchError(error => of({ isLoading: false, error})),
            startWith({ isLoading: true })
          )
      ));
  }

  togglePosts() {
    this.showPosts = !this.showPosts;
  }
}

interface Post {
  userId: number;
  id: number;
  title: string;
}

export interface HttpRequestState<T> {
  isLoading: boolean;
  value?: T;
  error?: HttpErrorResponse | Error;
}
Installing the required npm packages
We need to install a couple of developer dependencies into our project to use this setup. Of course, we will need Playwright. Next, we will need ts-node to run our custom typescript script using node. The last three dependencies are just here to control execution.
Nodemon allows you to watch for changes to running scripts and reboot the ts-node run, which makes it easier to make adjustments to mock data/steps. Concurrently and wait-on help with starting up the Angular application and running it in parallel with our playwright script, wait-on specifically allows us to wait for the HTTP server started by ng serve to respond to HTTP traffic.
npm i playwright ts-node concurrently nodemon wait-on -DCreate a custom task to launch our browser
Let’s start by creating our npm scripts to run our Playwright browser. Open up your package.json file, replace the default start script, and add a script called launch-browser to your scripts.
To go over the scripts quickly, it all starts with the concurrently npm package that can run multiple scripts/commands simultaneously. In the start script, you can see that it will try to run two scripts. One of them is the one we know ng serve, which is the default Angular option to start our Angular application. In parallel, it will use wait-on and wait for content on the default port used by Angular (4200); once content is detected, it will start the script/task npm run launch-browser.
The launch-browser script will start our typescript script tasks/launch.ts and use nodemon to restart it if you change it while running. The --mock=%npm_config_mock% part of this script will allow us to start our script and supply a name for the mocks to use. For example, npm start --mock=largeDataSet.
{
  "scripts": {
    "launch-browser": "nodemon --exec ts-node tasks/launch.ts --mock=%npm_config_mock% -e ts",
    "start": "concurrently \"ng serve\" \"wait-on tcp:4200 && npm run launch-browser\"\""
  }
}
Next, we’re going to create our script. First, we need to add a custom tsconfig file in our folder to run our script in node. Create a folder named tasks and add a file called tsconfig.json and add the content below:
tasks/tsconfig.json
{
  "compileOnSave": false,
  "compilerOptions": {
    "sourceMap": true,
    "declaration": false,
    "downlevelIteration": true,
    "experimentalDecorators": true,
    "module": "CommonJS",
    "moduleResolution": "node",
    "resolveJsonModule": true,
    "importHelpers": true,
    "target": "ES2015",
    "typeRoots": [
      "./../node_modules/@types"
    ]
  }
}
Finally, we will create the script launch.ts, containing the core functionality.
Let’s go roughly over the script to give you an idea of what it does:
- Lines 2 to 12 allow us to retrieve the mock argument if it is provided. It will use the
default.tsmock when nothing is provided. - Line 14 loads the specified mock you’ve provided using the argument.
- On line 21, we create a new browser (see lines 23 to 28) set to headless is false (this means it will show us the browser and start the visible part of the browser as well).
- On line 20, we create a new browser context, use a default desktop profile supplied by Playwright (see line 15), and use the method
defaultContextaccording to our defaults. - The method
defaultContexton lines 32 to 43 creates a new page, calls themockHttpmethod to initialize the mocking (covered later), and navigates to our default Uri. - On line 35 in the method
defaultContext, we check if the entire dom is loaded and then execute our steps if the URI equals our default starting URI. - Lines 46 and 47 contain the steps to navigate our app to the position in which we would like to have it. In this example, we wait for the button with the text ‘load posts’ to be visible/clickable and click it. Next we wait for the button with the text ‘click me to show posts’ to be visible/clickable and click it.
The steps function is most likely the one you will modify often; this function allows you to specify to which part of your application you want Playwright to navigate after each page refresh.
tasks/launch.ts
import {chromium, Page} from 'playwright';
import { argv } from 'process';

const args = (key: string) => {
  let value = argv.find( element => element.startsWith( `--${ key }=` ) );
  if (!value) {
    return undefined;
  }
  value = value.replace( `--${ key }=` , '' );
  if (value == '%npm_config_mock%') value = undefined;
  return value;
}

const mockConfiguration = args('mock') ?? 'default';
const mockHttp = require(`./../mocks/${mockConfiguration}`).default;

const desktopEdge = devices['Desktop Edge'];
const uri = 'http://localhost:4200/';

(async () => {
  const browser = await defaultBrowser();
  defaultContext(await browser.newContext({ ...desktopEdge }));
})();

async function defaultBrowser(args: string[] = []) {
  return await chromium.launch({
    headless: false,
    args
  });
}

async function defaultContext(context: BrowserContext) {
  const page = await context.newPage();
  await mockHttp(page);
  page.on('domcontentloaded', async (data) => {
    if (page.url() == uri)
    {
      await steps(page);
    }
  });

  await page.goto(uri, { timeout: 60000 });
}

async function steps(page: Page) {
  await page.getByRole('button', { name: 'load posts'}).click();
  await page.getByRole('button', { name: 'click me to show posts' }).click();
}
Mocking HTTP calls
Create a folder named mocks in the root of your app folder. In this folder, we will create a couple of files containing mocking scenarios.
To demonstrate more clearly what is happening, I’ve created a default script that mocks the API and returns one post with the title ‘this is the default mock’. I hope this clarifies the process because our endpoint also produces random fake data.
Our default mocking scenario
When mocking API endpoints, we want to ensure we don’t accidentally call an endpoint we did not cover with mocks. We can do this by instructing Playwright to mock all routes to our endpoint (lines 5 to 12) and return a 404. Not mocking these routes could, for example, result in deleting a given object because the id occurred in our mocked case.
Next, we instruct Playwright to mock our call to the posts API endpoint and return a default object titled ‘this is the default mock’ (lines 14 to 27). This route will override the catch-all route resulting in the 404 for this specific path.
default.ts
import { Page } from "playwright";

export default  async function (page: Page) {

  await page.route('https://jsonplaceholder.typicode.com/**', (route) => {
    route.fulfill({
      status: 404,
      contentType: 'text/html',
      headers: { 'access-control-allow-origin': '*'},
      body: `This call was intercepted and blocked, we don't want to go to production`
    })
  });

  await page.route('https://jsonplaceholder.typicode.com/posts', (route) => {
    route.fulfill({
      status: 200,
      contentType: 'text/html',
      headers: { 'access-control-allow-origin': '*'},
      body: JSON.stringify([
        {
          userId: 1,
          id: 2,
          title: 'this is the default mock'
        }
      ])
    })
  });

};
We’re now ready to start up our application to see the result.
To give you an idea of how the application looks when you run it against the actual environment, start by running ng serve.

Close it, and now start our application using our created script; run npm start, which runs the application with our default (the above) mocking instructions.
Our application isn’t aware of any of this, as can be seen when going to the inspector and looking in the network tab; the URL used to access the API is still the same. It’s retrieving the mocked data set, but from the perspective of our application, this comes from the actual/real environment.

Adjusting the default scenario to be a bit more realistic
By now, I assume you got a rough view of what is occuring when we start the application using our custom startup script.
Let’s now slightly adjust our default mocking script and, by default, return more data and add a delay to emulate the processing time of our API. To do this, we will install an additional package as a development dependency:
npm i @faker-js/faker -DGenerating the data with a fake data generator isn’t required; this could also be a set of data you’ve created beforehand. To reduce the size of the code samples, I’ve decided to use fake data generation in this case, as you can see on line 26.
On line 17, we’ve added logic to wait for 1 second to emulate the time required for the API to return the request. You can remove or adjust this timeout to your needs. Next, we create an array with 20 items and map it to our data object (line 23).
default.ts
import { Page } from "playwright";
import { faker } from '@faker-js/faker';

export default async function (page: Page) {

  await page.route('https://jsonplaceholder.typicode.com/**', (route) => {
    route.fulfill({
      status: 404,
      contentType: 'text/html',
      headers: { 'access-control-allow-origin': '*'},
      body: `This call was intercepted and blocked, we don't want to go to production`
    })
  });

  await page.route('https://jsonplaceholder.typicode.com/posts', async (route) => {

    await new Promise(f => setTimeout(f, 1000));

    route.fulfill({
      status: 200,
      contentType: 'text/html',
      headers: { 'access-control-allow-origin': '*'},
      body : JSON.stringify([...Array(20)].map((v,i) => ({
        userId: i,
        id: i,
        title: faker.lorem.paragraph()
      })))
    })
  });
};
The above gives you a default state, which you can use for most development needs. We will add a couple more mock scripts to show you that we can also make additional use cases.
Create a file named largeDataset.ts in our mocks folder and add the content from the code sample below. As seen on line 23, this creates a more extensive data set of 1000 items and will increase the call to 2 seconds on line 17.
largeDataset.ts
import { Page } from "playwright";
import { faker } from '@faker-js/faker';

export default async function (page: Page) {

  await page.route('https://jsonplaceholder.typicode.com/**', (route) => {
    route.fulfill({
      status: 404,
      contentType: 'text/html',
      headers: { 'access-control-allow-origin': '*'},
      body: `This call was intercepted and blocked, we don't want to go to production`
    })
  });

  await page.route('https://jsonplaceholder.typicode.com/posts', async (route) => {

    await new Promise(f => setTimeout(f, 2000));

    route.fulfill({
      status: 200,
      contentType: 'text/html',
      headers: { 'access-control-allow-origin': '*'},
      body : JSON.stringify([...Array(1000)].map((v,i) => ({
        userId: i,
        id: i,
        title: faker.lorem.paragraph()
      })))
    })
  });
};
This could be a great case to test what happens to your application when there is a lot of data to show, for example, to try if your pagination logic is activated and if it works and looks like expected. (This code is not included in the test application, so you will get a list of 1000 items without pagination).
To see it in action, start up our application using the following:
npm start --mock=largeDataset
By now, we’ve covered two scenarios concerning the size of the result, but we also want to handle cases for which no data could be loaded. This logic can be seen in the code snippet below on lines 14 to 17; we define the route, wait for 2 seconds, and then abort the route.
failRequest.ts
import { Page } from "playwright";

export default async function(page: Page) {

  await page.route('https://jsonplaceholder.typicode.com/**', (route) => {
    route.fulfill({
      status: 404,
      contentType: 'text/html',
      headers: { 'access-control-allow-origin': '*'},
      body: `This call was intercepted and blocked, we don't want to go to production`
    })
  });

  await page.route('https://jsonplaceholder.typicode.com/posts', async (route) => {
    await new Promise(f => setTimeout(f, 2000));
    route.abort();
  });
};
To see this in action, create another file in the mocks folder, named failRequest.ts and add the content from the code snippet above and run it by using:
npm start --mock=failRequestOther scenarios
Next to mocking APIs, many other options can be adjusted in our environment. Let’s go over some of the possibilities to inspire you to make optimal use of Playwright in your development flow.
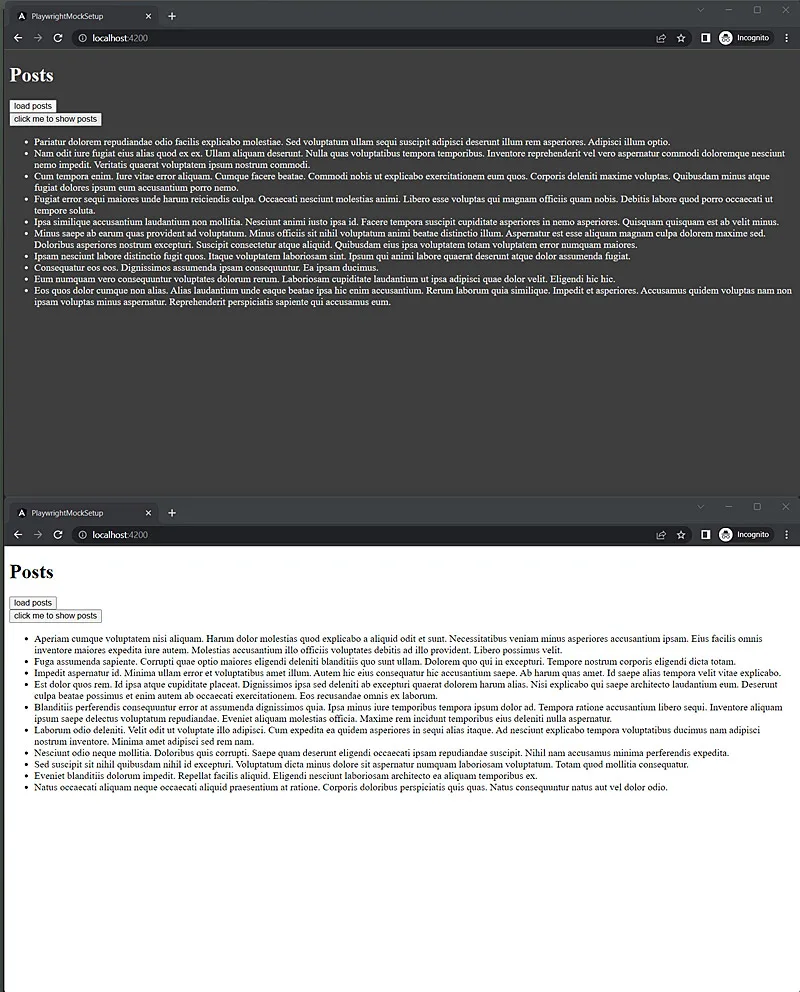
Develop dark and light mode
Creating a dark and light mode and previewing its effect on your application can be time-consuming if you need to switch between the two modes all the time.
What we can do is adjust our tasks/launch.ts (see below) to open up two browsers, one in dark mode and one in light mode, and then position them next to each other, running our steps function to bring the application to the spot we’re interested in. When using the chromium browser, we can specify the location it opens up on by starting it using the option ---window-position.
(async () => {

  const browser1 = await defaultBrowser(['--window-position=0,0']);
  const browser2 = await defaultBrowser(['--window-position=0,800']);
  defaultContext(await browser1.newContext({ ...desktopEdge, colorScheme: 'dark' }));
  defaultContext(await browser2.newContext({ ...desktopEdge, colorScheme: 'light' }));

})();
To see this in action, we also need to make a minor adjustment to the head section of the index.html file, add the following to display a dark background when the browser is set to prefer the dark color scheme:
<style>
  @media (prefers-color-scheme: dark) {
    body {
      color: #e3e3e3;
      background-color: #3e3e3e;
    }
  }
</style>
Next, we start our development environment again to see the changes in action: npm start.
Develop different locales
When building applications with different locales, the length of text in one locale can be different from the other locale, which can impact how your application looks. Next, you might also have the requirement to support LTR (left to right text direction) and RTL (right to left text direction) locales and want to preview that during development.
Running an additional browser window in a different locale could help with this. Adjust our tasks/launch.ts to the snippet below to start two browsers in different locales.
(async () => {

  const browser1 = await defaultBrowser(['--window-position=0,0']);
  const browser2 = await defaultBrowser(['--window-position=0,800']);
  defaultContext(await browser1.newContext({ ...desktopEdge, locale: 'en-US' }));
  defaultContext(await browser2.newContext({ ...desktopEdge, locale: 'nl-NL' }));

})();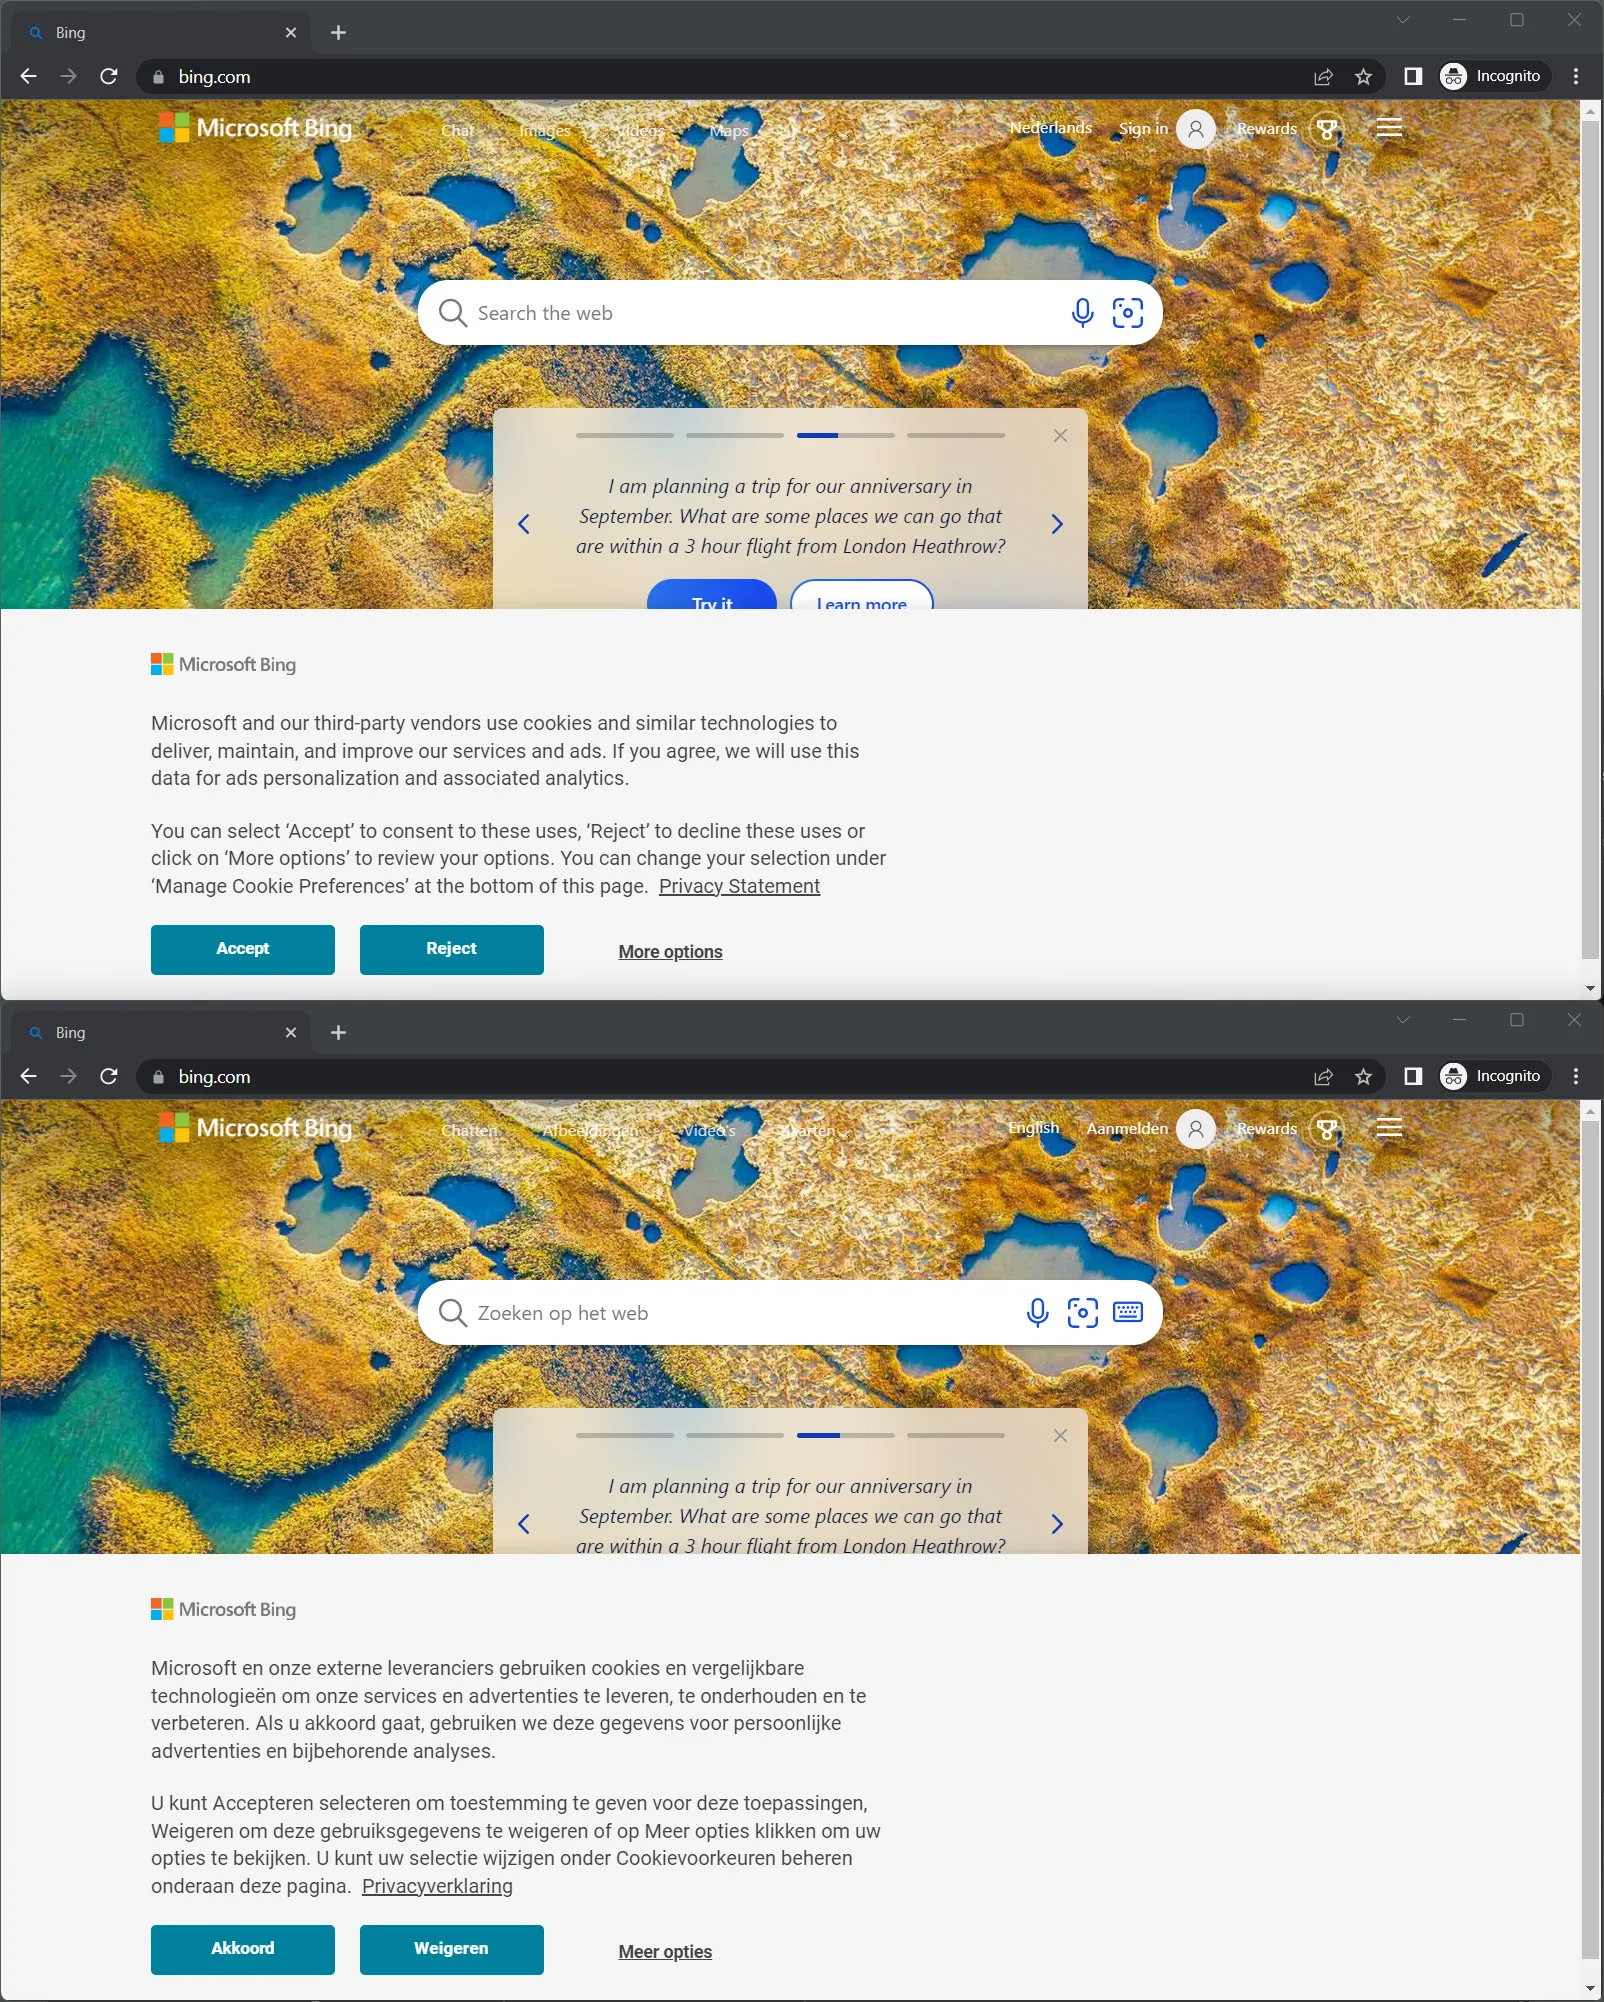
Another option would be to mock the call to the localization files and replace the localized text with the key of the localization resource item. This allows you to see where a specific localization key is used and use Playwright to screenshot it so that it can be shared with stakeholders in the development process.
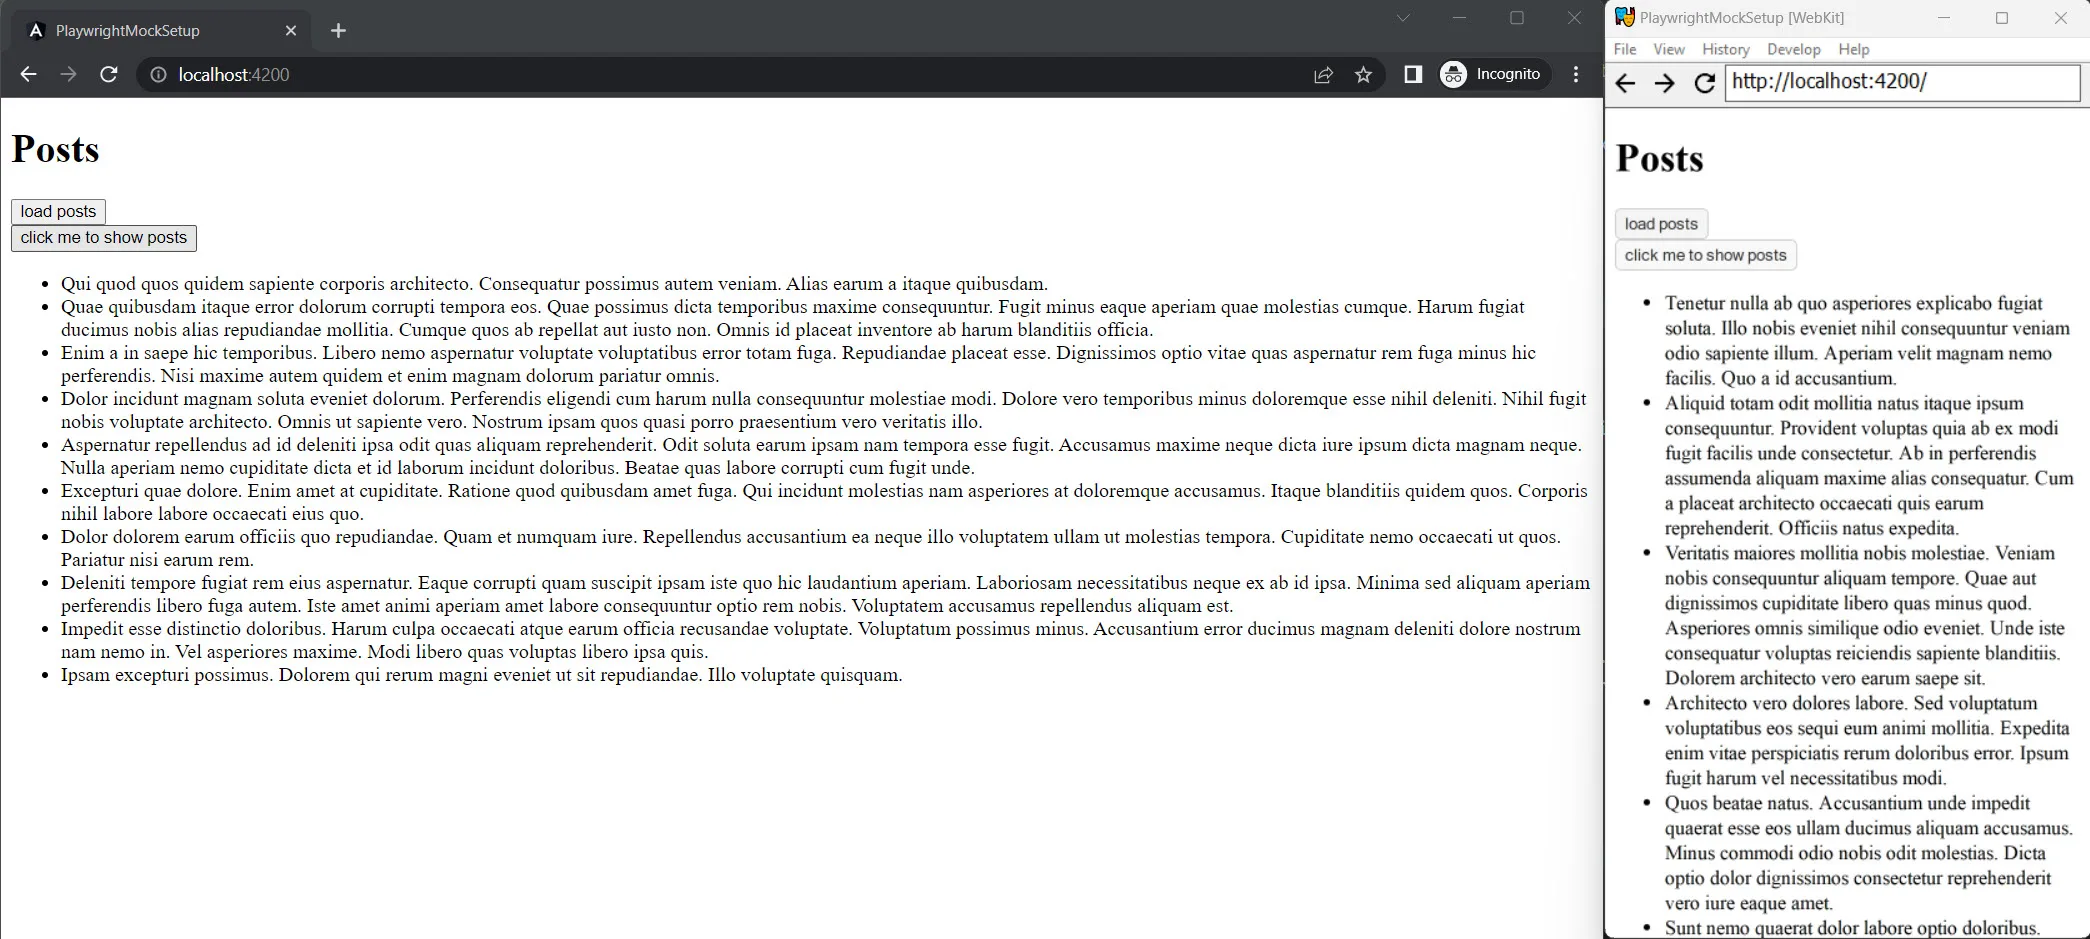
Develop desktop and browser resolutions
A common practice during development is to preview and test the application in different browsers and resolutions. We can adjust our tasks/launch.ts to align with this need.
We can get the default device configuration from Playwright; this configures the defaults and actual browser to use. In the snippet below, we use the default chromium-based browser and start the WebKit browser to emulate an iPhone, and it’s resolution.
import {chromium, webkit, Page, devices, BrowserContext} from 'playwright';

const desktopEdge = devices['Desktop Edge'];
const mobileBrowser = devices['iPhone 13'];
const uri = 'http://localhost:4200/';

(async () => {

  await defaultContext(await (await defaultBrowser()).newContext({ ...desktopEdge }));
  await defaultContext(await (await webkitBrowser()).newContext({ ...mobileBrowser }));

  //repositionWindows();

})();

async function webkitBrowser() {
  return await webkit.launch({
    headless: false,
  });
}
One downside of using the Webkit browser is that there is no option to specify the starting position of the window, which isn’t the most helpful when refreshing or restarting our instances. We can resolve this issue with another npm package called node-window-manager.
Install the package using the following command:
npm i node-window-manager -DImport the windowManager to our tasks/launch.ts, and add the function repositionWindows from the code snippet below to correct the positions of the browser instances/ windows that opened up.
import { windowManager } from 'node-window-manager';function repositionWindows() {
const windows = windowManager
.getWindows()
.filter(window => window.path.indexOf('AppData\\Local\\ms-playwright') > -1 && window.isVisible());
windows[0].setBounds({ ...windows[0].getBounds(), x: 1026, y: 0 });
windows[1].setBounds({ ...windows[1].getBounds(), x: 0, y: 0 });
}We’re currently filtering out the windows we need based upon the path of the executable containing AppData\Local\ms-playwright this is the path to the browser executables used by Playwright on Windows and might differ on Mac/Linux.
Ultimately, this solution is not the most generic and requires you to play around a bit to get the right windows, but it works okay.
Finally
In conclusion, I hope that the above offered you some ideas on improving your process or at least inspired you to look into Playwright and what it can do for you because there is much more possible than what we covered in this article.